Have you tried to add adhesive vinyl to a mug using your Cricut Maker 3? If not, it’s such a fun and easy project that makes great gifts.
With this tutorial you’ll learn how to add adhesive vinyl on a mug with a free sun SVG file.
We also have 3 extra sun files available if you’d like to expand your collection.
Let’s get started with this easy step by step tutorial.

Download the Free Sun SVG File
You can find this file in my free craft file library. The file number is C5.
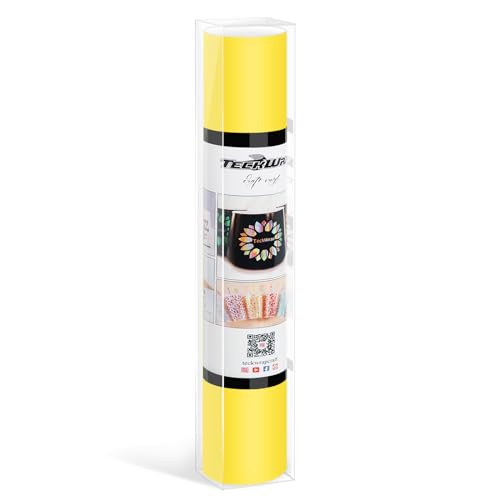
Buy the Sun SVG Bundle
Get the bundle with 4 sun files below and you’ll be able to add 4 different sun designs to coffee mugs.
Save on Pinterest!


How to Add Adhesive Vinyl to a Mug
Tools


Instructions
Prepare file & customize settings in Cricut Design Space
- Download the file(s) from our resource library or our shop and upload to Design Space.

- Measure your mug to decide what size to make your file.

- Resize the file according to the size of your mug.

- Check that the operation is set to "Basic Cut" and change the color of your file to better visualize how it will look.

- Select the file in the layers panel and click "Attach" in the lower right corner.

- Click "Make" in the top right corner.

- Cut out a piece of vinyl that is slightly bigger than the project you are cutting and place the vinyl on the green cutting mat.
- Select the mat you are going to use and click "Continue".

- Turn on your Cricut machine and click continue. Wait for it to connect.

- Select the material by clicking "Browse All Materials", use the search bar to search for Vinyl.In this case the correct one for me was "Holographic Vinyl". The Adhesive vinyl you have typically include what setting to choose.


Cut on Your Cricut
- Load the mat and press the load button on the Cricut machine.
- Press Go and let the Cricut cut your file.
- Then click the unload button on the Cricut and done on your computer.


Weed the Adhesive Vinyl & Adhere to the Mug
- Weed the vinyl starting in the top left corner.
- Go slowly and make sure you don't weed out any pieces that are a part of the design.
- Once you are finished weeding, remove the design from the mat and check that the design looks right before moving on to the next step.
- Cut out a piece of transfer tape that is slightly larger than your design.
- Remove the backing from the transfer paper.
- Place the transfer paper over your design.
- Use a scraper to adhere the transfer tape to the vinyl.
- Remove the backing from the adhesive vinyl.
- Place the mug in a mug holder.This is optional, but pretty helpful.
- Place the vinyl on the mug where you want it. The center first.
- Moving from the center, slowly work adhere the vinyl outwards and sideways.
- Use a scraper to help it attach properly and remove any air bubbles.
- Slowly remove the transfer tape.
- Your mug with adhesive vinyl is finished.


You've Now Learned To Add Adhesive Vinyl to a Mug
I hope you enjoyed this detailed step by step tutorial showing you how to use your Cricut Maker 3 to cut adhesive vinyl and add it to a mug.
It's such a fun and easy Cricut project, that you can easily make as gifts for friends and family, or create a cheerful mug for your daily coffee routine.
Happy Crafting!
